Set your Server Time Zone.
Posted: Wed Feb 28, 2018 4:01 pm
NOTE:-
You should have been able to set your server time zone during the EHCP force install process, however if for some reason this failed, here is how to do it manually.
First login to your server using your PC and PuTTY.
Enter this command to find out what time zone your server has set.
sudo timedatectl
As always you may have to re-enter your password.

As you can see the server local time is set to the default which is UTC (Coordinated Universal Time).
We need to change the time zone to where you live, in my case this is the UK.
Each time zone available has a specific name, we need to know the exact syntax for Ubuntu. We will have to scroll through all the available time zones until we find the correct one. Don’t worry this is less time consuming than it sounds.
Ok, to list all the available time zones enter this command.
sudo timedatectl list-timezones
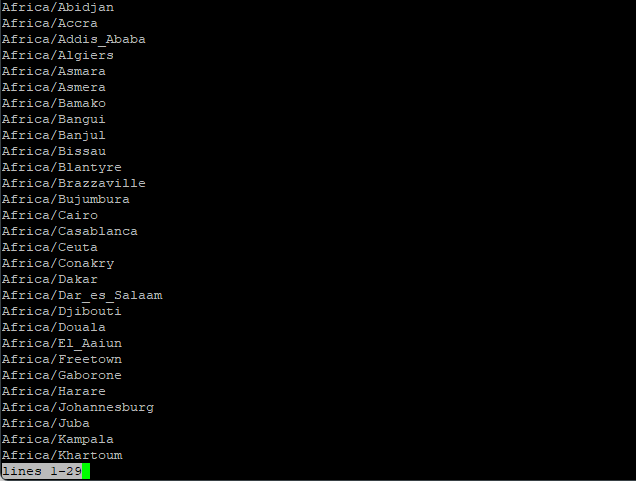
As you can see the list starts with Africa, in order to move through the list, keep pressing the down arrow on your keyboard.
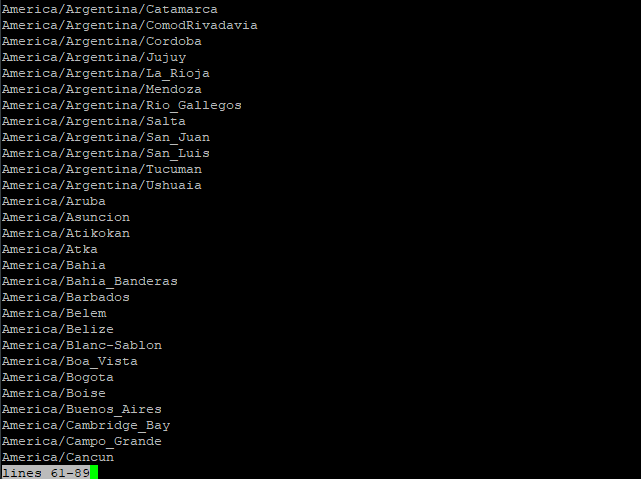
When you find the one that you need, simply highlight it with the mouse (this is the same as pressing Copy in Windows).
My time zone is: - Europe/London
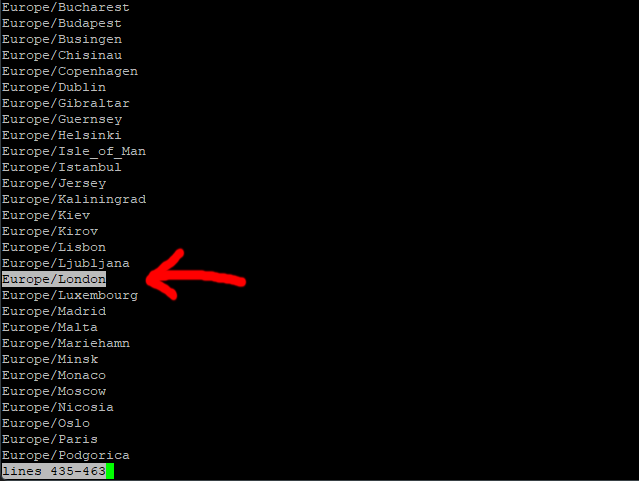
Once your time zone is highlighted (like in the picture) you can press CTRL + C to exit the list.
Next type this command but do not press enter.
sudo timedatectl set-timezone
Followed by a space.
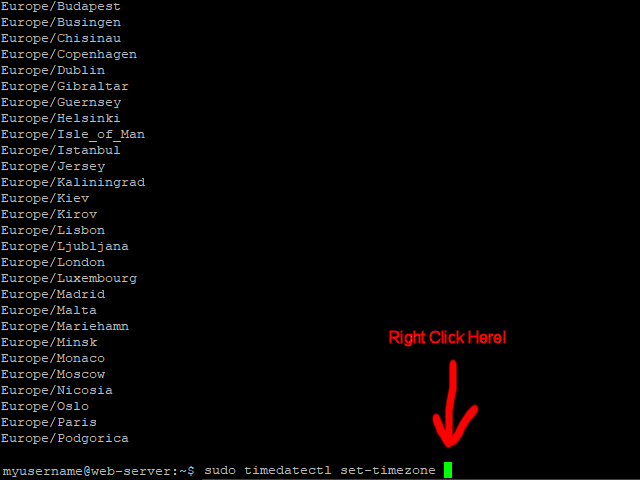
Now right click on the green cursor (this will paste in your time zone).
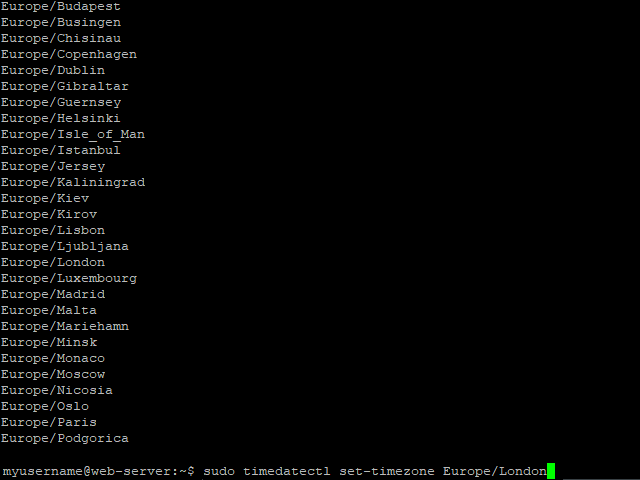
Now you can press Enter!
That should be it done, we can check by entering this command again.
sudo timedatectl

You should have been able to set your server time zone during the EHCP force install process, however if for some reason this failed, here is how to do it manually.
First login to your server using your PC and PuTTY.
Enter this command to find out what time zone your server has set.
sudo timedatectl
As always you may have to re-enter your password.

As you can see the server local time is set to the default which is UTC (Coordinated Universal Time).
We need to change the time zone to where you live, in my case this is the UK.
Each time zone available has a specific name, we need to know the exact syntax for Ubuntu. We will have to scroll through all the available time zones until we find the correct one. Don’t worry this is less time consuming than it sounds.
Ok, to list all the available time zones enter this command.
sudo timedatectl list-timezones

As you can see the list starts with Africa, in order to move through the list, keep pressing the down arrow on your keyboard.

When you find the one that you need, simply highlight it with the mouse (this is the same as pressing Copy in Windows).
My time zone is: - Europe/London

Once your time zone is highlighted (like in the picture) you can press CTRL + C to exit the list.
Next type this command but do not press enter.
sudo timedatectl set-timezone
Followed by a space.

Now right click on the green cursor (this will paste in your time zone).

Now you can press Enter!
That should be it done, we can check by entering this command again.
sudo timedatectl
