Fix Fail2ban. (Important)
Posted: Fri May 06, 2022 6:58 pm
Thanks to Ubuntu server 22.04 (and above), tightening up file and folder permissions, the Fail2ban security service may not be running.
Also, once Fail2ban is running your admin email account will get spammed with lots of bounced emails, because Fail2ban will be attempting to send notification emails to changeme@gmail.com.
LETS GET FAIL2BAN RUNNING
Log on to your server using your PC and PuTTY and enter this command.
sudo fail2ban-client status
If you see something like this, all is good and you don’t need to take any further action, so scroll down to the “Fix Fail2ban Email" section.

If, however you see something like this, then we need to fix it!

Fortunately, the fix is a very simple one!
Here is how to fix it.
Staying with PuTTY, enter this command.
sudo crontab -e
Move the cursor (using the arrow keys) to the last letter of the last line.
Press I for insert, then move the cursor one more place to the right (so it is just after the last letter).
Press enter for a new line.
Please note your file may look different to the one in the example.
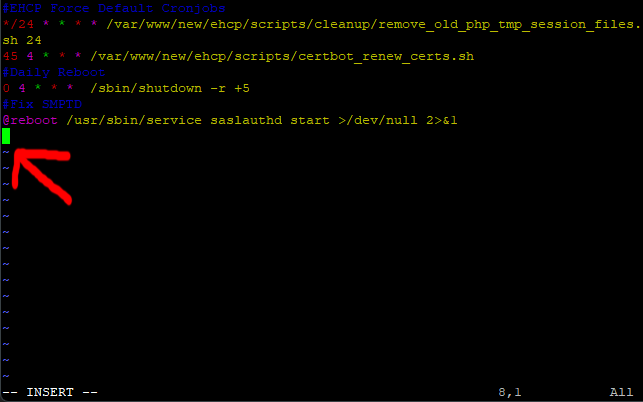
Now, paste in this code (right click on the cursor to paste)
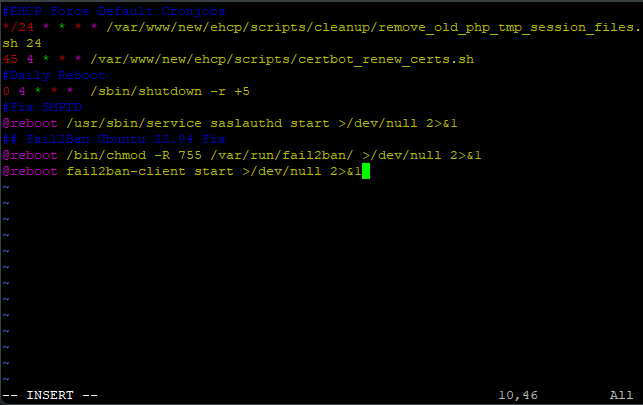
Now we need to save and exit. (Escape :w (enter) :q (enter)
Now re-boot your server using this command.
sudo shutdown -r now
Once your server has had time to reboot, log back in with PuTTY.
Finally check the status again, using this command.
sudo fail2ban-client status
You should now see this screen!

LETS FIX FAIL2BAN EMAIL
First of, I highly recommend you log into your EHCP force web control panel and create a dedicated email account for Fail2ban.
Maybe something like Fail2Ban@MyDomain.com (replacing MyDomain.com with your actual domain name).
Back to PuTTY, enter this command.
sudo vi /etc/fail2ban/jail.local
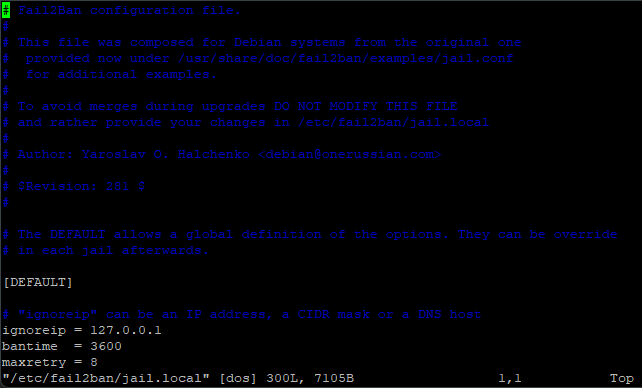
Scroll down until you see the line.
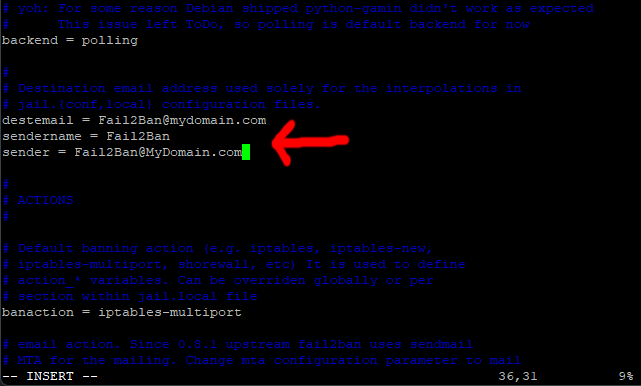
destemail = changeme@gmail.com (the line could say destemail = myemail@test.com).
position your cursor at the end of the line, press I for insert and change the email address, to yours.
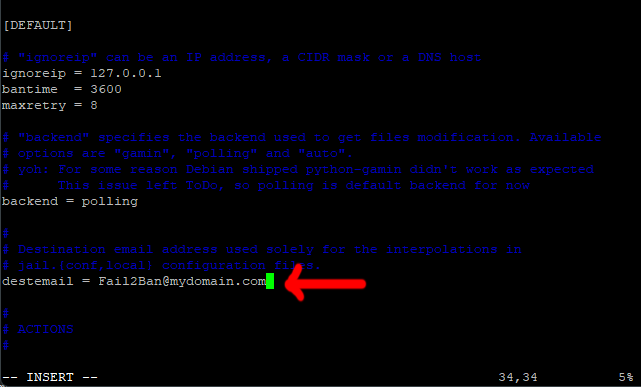
Press enter for a new line, and add these two lines.
sendername = Fail2Ban
sender = Fail2Ban@MyDomain.com
Again, replacing MyDomain.com with your actual domain name.
Save the changes and exit (Escape :w (enter) :q (enter)).
Now, enter this command.
sudo fail2ban-client restart
Finally, we need to stop Fail2Ban sending us annoying emails every time the service stops and starts.
To do this we just need to create a new config file, which turns these emails off.
Issue this command.
sudo vi /etc/fail2ban/action.d/sendmail-common.local
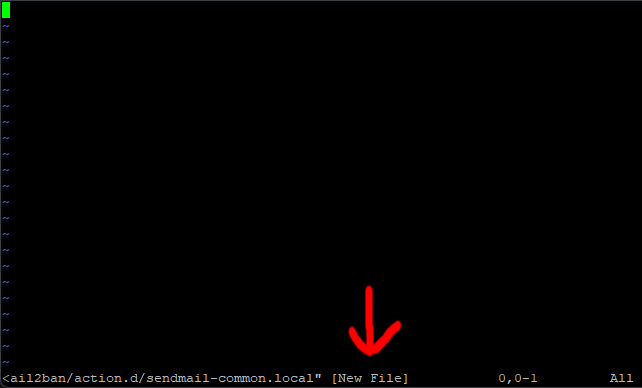
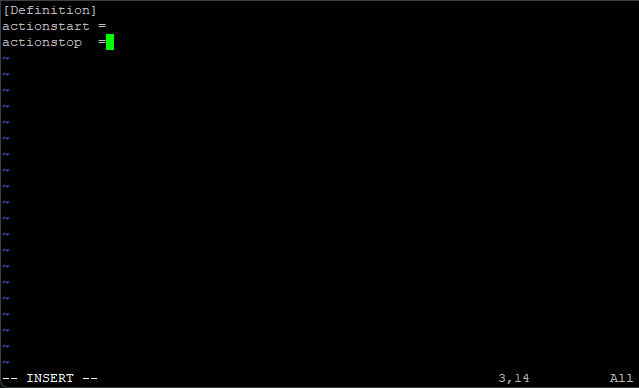
Press I for insert and paste in this code.
Now save the changes and exit the editor (Esc, :w (enter) :q (enter)
Restart Fail2ban to make sure all is ok with this command.
sudo fail2ban-client restart
Now fail2Ban will only send us emails about IP’s that have been banned.
Now, (in PuTTY) you can just type exit (enter) as we are done.
Also, once Fail2ban is running your admin email account will get spammed with lots of bounced emails, because Fail2ban will be attempting to send notification emails to changeme@gmail.com.
LETS GET FAIL2BAN RUNNING
Log on to your server using your PC and PuTTY and enter this command.
sudo fail2ban-client status
If you see something like this, all is good and you don’t need to take any further action, so scroll down to the “Fix Fail2ban Email" section.

If, however you see something like this, then we need to fix it!

Fortunately, the fix is a very simple one!
Here is how to fix it.
Staying with PuTTY, enter this command.
sudo crontab -e
Move the cursor (using the arrow keys) to the last letter of the last line.
Press I for insert, then move the cursor one more place to the right (so it is just after the last letter).
Press enter for a new line.
Please note your file may look different to the one in the example.

Now, paste in this code (right click on the cursor to paste)
Code: Select all
## Fail2Ban Ubuntu 22.04 Fix
@reboot /bin/chmod -R 755 /var/run/fail2ban/ >/dev/null 2>&1
@reboot fail2ban-client start >/dev/null 2>&1
Now we need to save and exit. (Escape :w (enter) :q (enter)
Now re-boot your server using this command.
sudo shutdown -r now
Once your server has had time to reboot, log back in with PuTTY.
Finally check the status again, using this command.
sudo fail2ban-client status
You should now see this screen!

LETS FIX FAIL2BAN EMAIL
First of, I highly recommend you log into your EHCP force web control panel and create a dedicated email account for Fail2ban.
Maybe something like Fail2Ban@MyDomain.com (replacing MyDomain.com with your actual domain name).
Back to PuTTY, enter this command.
sudo vi /etc/fail2ban/jail.local

Scroll down until you see the line.
destemail = changeme@gmail.com (the line could say destemail = myemail@test.com).
position your cursor at the end of the line, press I for insert and change the email address, to yours.

Press enter for a new line, and add these two lines.
sendername = Fail2Ban
sender = Fail2Ban@MyDomain.com
Again, replacing MyDomain.com with your actual domain name.

Save the changes and exit (Escape :w (enter) :q (enter)).
Now, enter this command.
sudo fail2ban-client restart
Finally, we need to stop Fail2Ban sending us annoying emails every time the service stops and starts.
To do this we just need to create a new config file, which turns these emails off.
Issue this command.
sudo vi /etc/fail2ban/action.d/sendmail-common.local

Press I for insert and paste in this code.
Code: Select all
[Definition]
actionstart =
actionstop  =
Now save the changes and exit the editor (Esc, :w (enter) :q (enter)
Restart Fail2ban to make sure all is ok with this command.
sudo fail2ban-client restart
Now fail2Ban will only send us emails about IP’s that have been banned.
Now, (in PuTTY) you can just type exit (enter) as we are done.